
Celebrating the Blog's Birth
Made this blog out of boredom, and it's born! 🎉🍾
The Reason
I’ve recently been coming across personal blogs a lot, and with encouragement from my teachers at school, I decided to just whip up a blog template online during the summer break. I built a static blog using Github↗ + Vercel↗, and got a free domain name through us.kg↗ + Cloudflare↗. (Got to say, free stuff is just great~) I don’t have much else to write, so I’ll just bookmark this and record the setup method.
Creating a Blog
Just like my blog, directly use the blog template from Github/EveSunMaple/Frosti↗, clone it from the repository, then:
- Drop your articles into
src/content/blog, noting that each file needs a prefix before the actual content for the template to recognize it - Modify specific page info in
src/content/pages(for example,about.astrois the about page,index.astrois the main page…) - Edit the
frosti.config.yamlfile in the root directory; just comment out anything you don’t need - When inserting images in md files, don’t include the
publicfolder name in the path — for example use/250710/1.pnginstead of/public/250710/1.png - I tweaked it a bit and refactored some file locations (to keep things tidy alongside the search feature)
With these simple steps you can finish the basic blog setup; once done, just push it to GitHub and create a repository.
Setting up Vercel
Log into Vercel↗ and create a new project, choose to import the blog base project you just created from GitHub, and deploy directly. Once done you can visit it directly; since nothing else weird is configured yet, it’s quite simple.
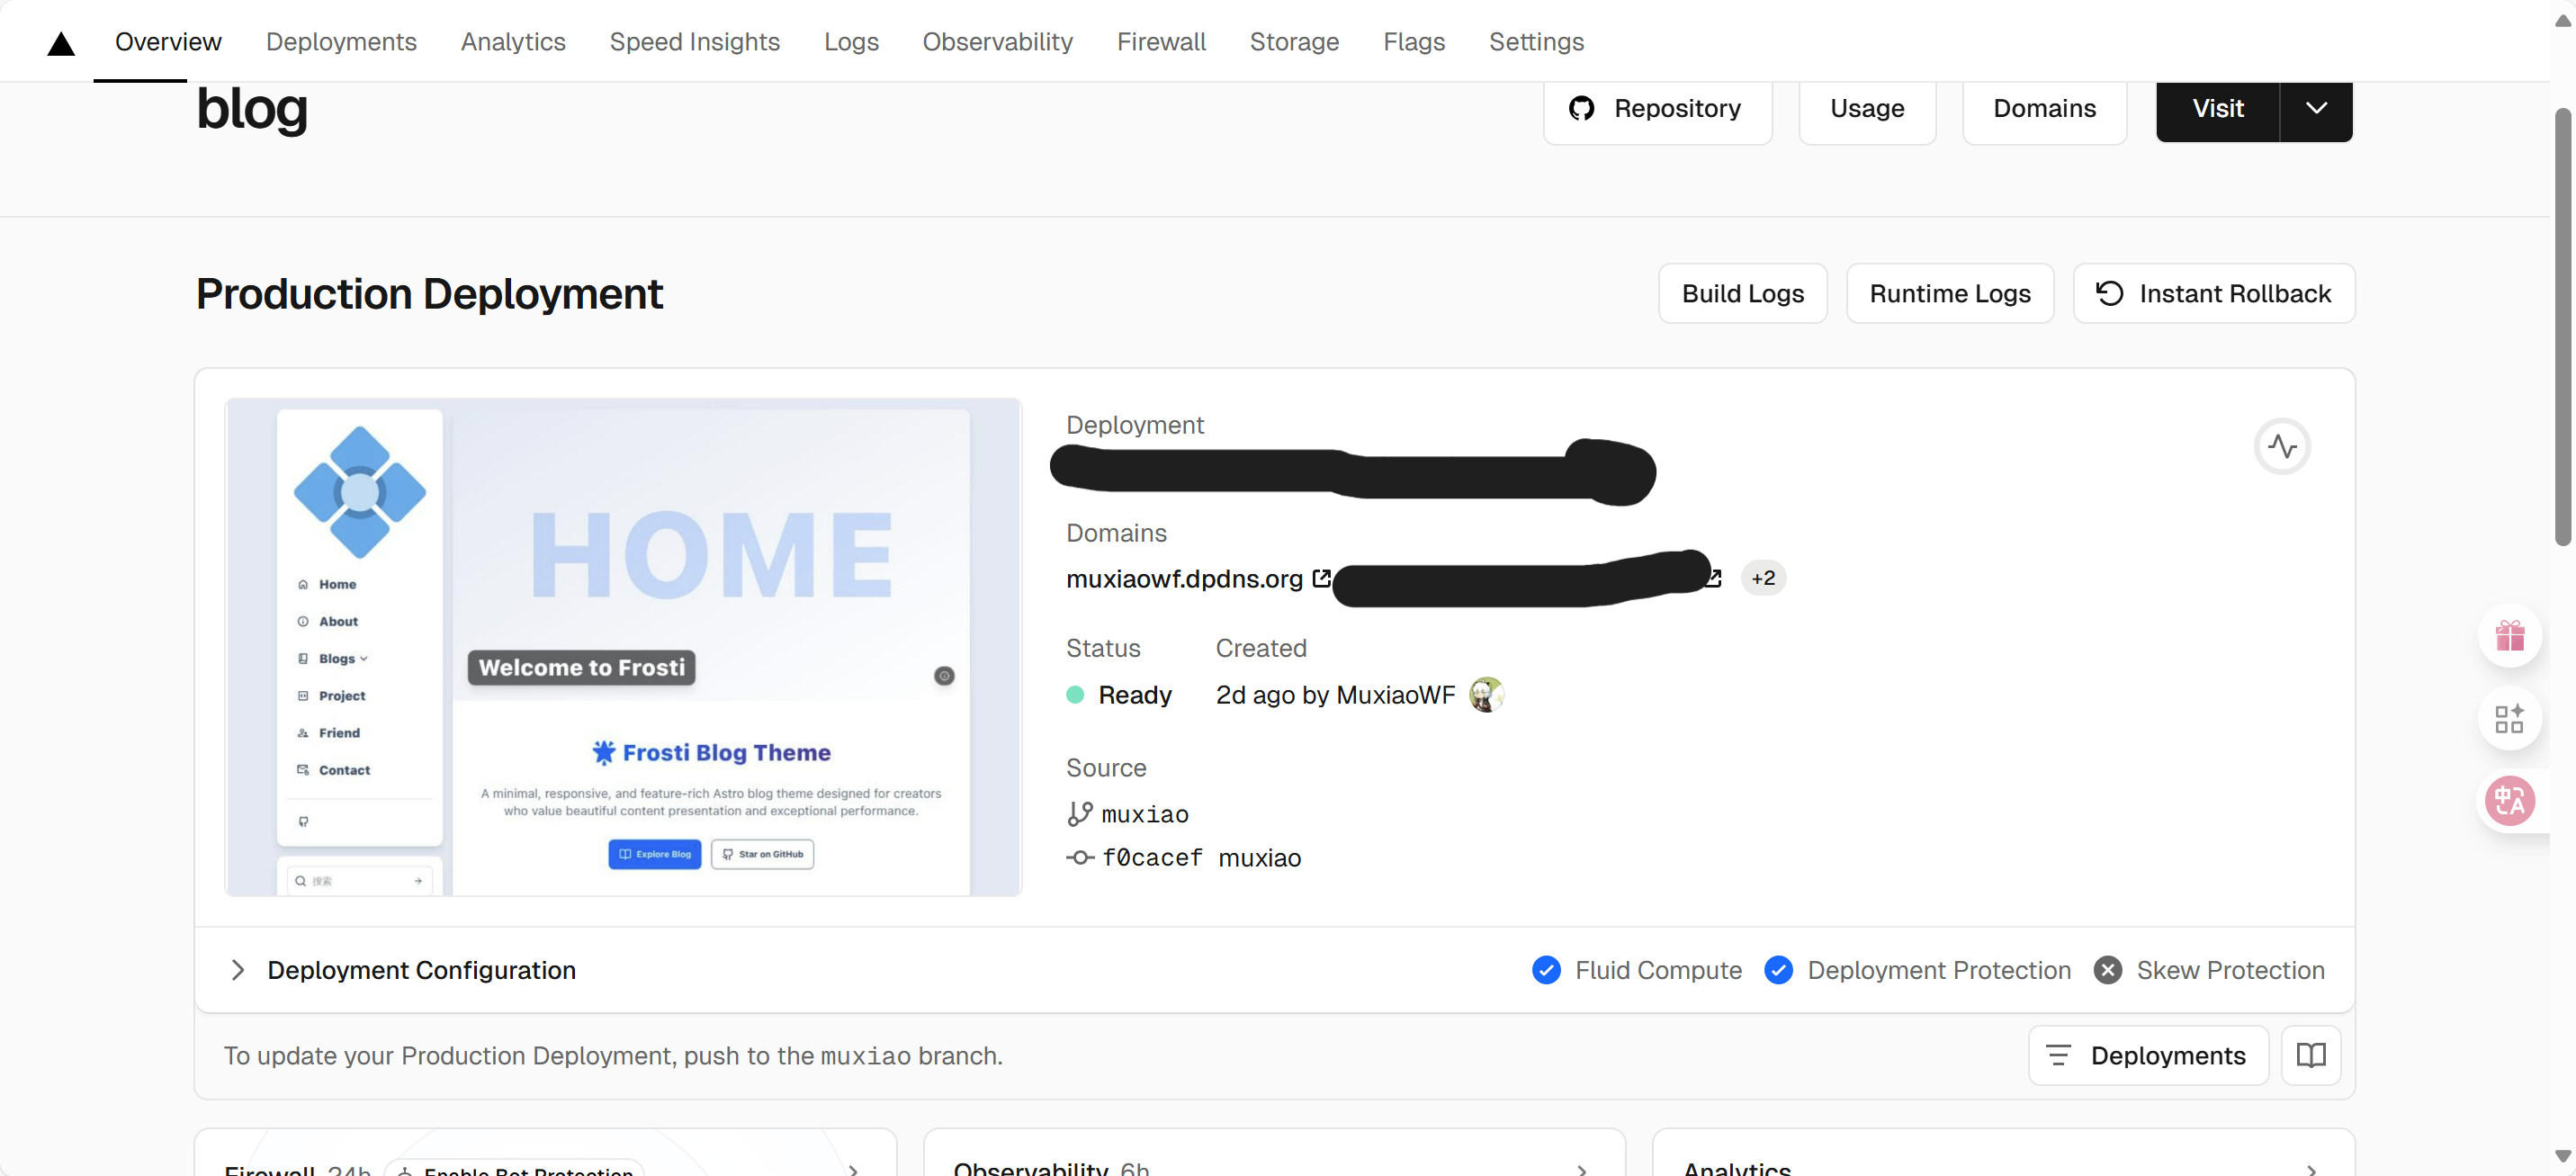
Vercel after setup
Now you can directly visit the URL in Domains to see your blog. Of course, for certain reasons, the built-in domain isn’t accessible within mainland China right now.
Getting a Free us.kg Domain
Register an account at us.kg↗; everything except Email can be filled in randomly, and it’s best to use a Google email. This thing has quite a lot of registration steps, so just search Baidu for it (
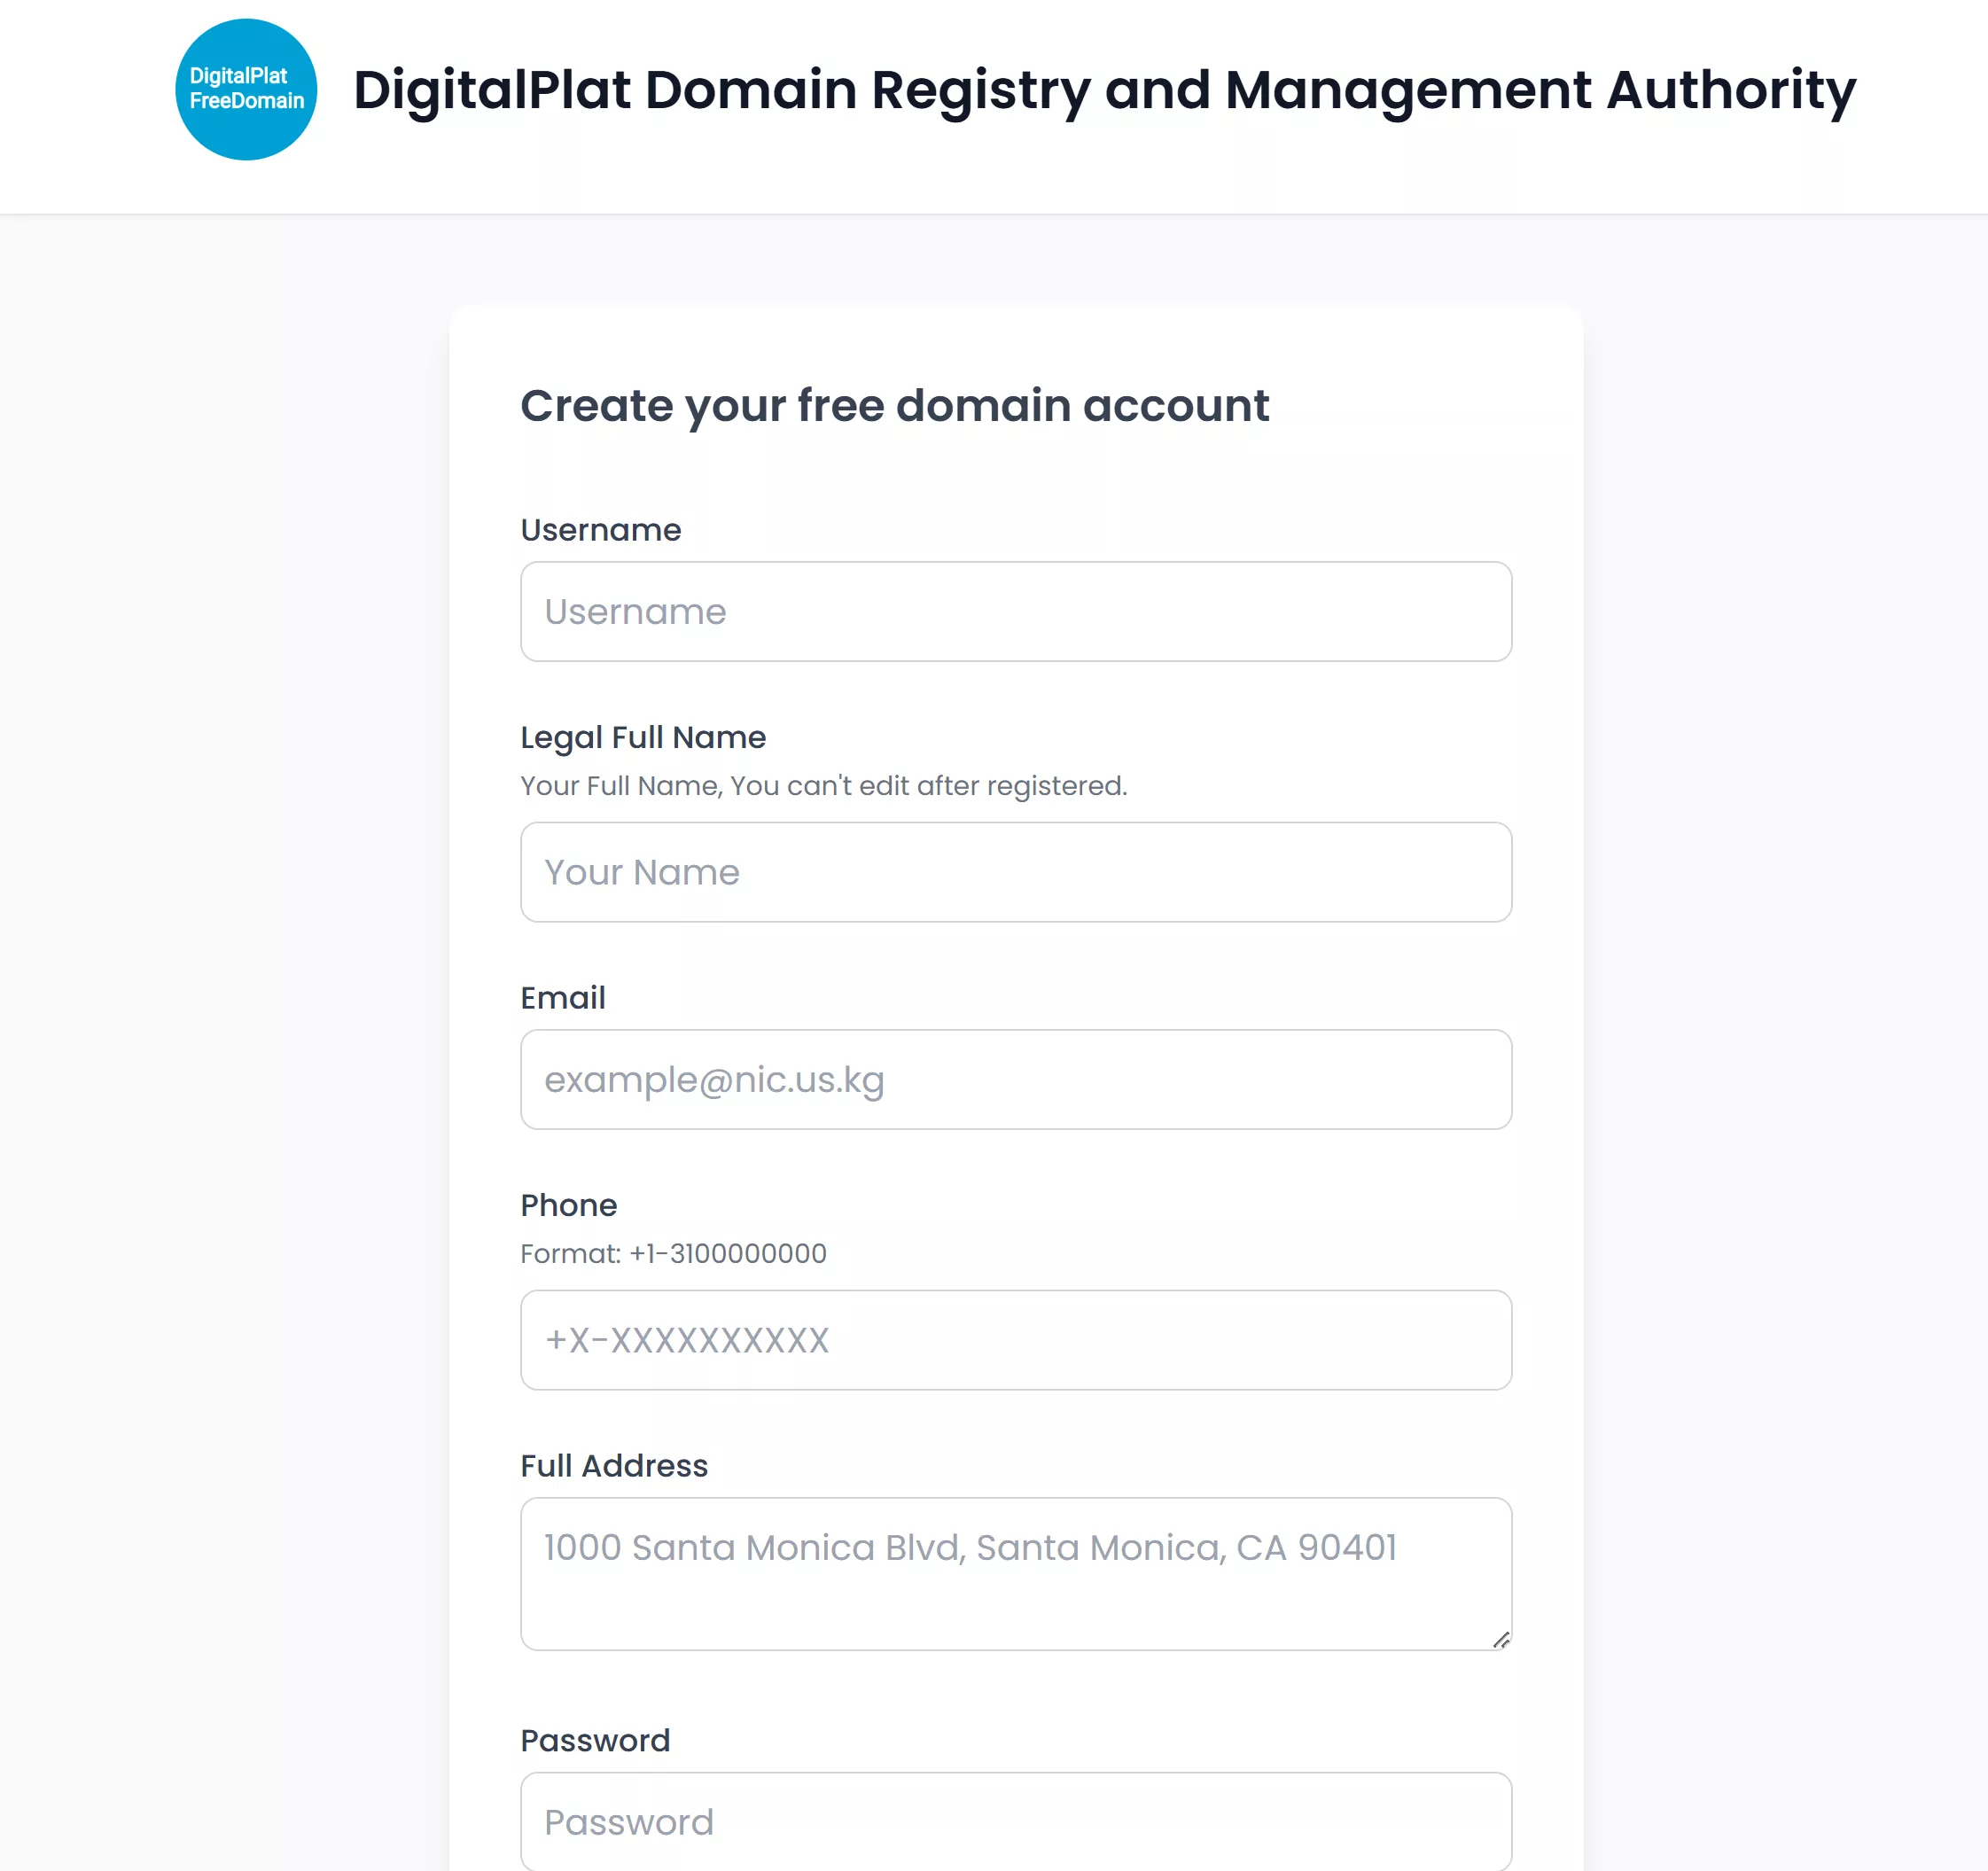
Registration
After successful registration, log in, first claim a free domain qualification by starring their GitHub repo, then create a domain directly and fill the two boxes below with Cloudflare’s configuration (created later).
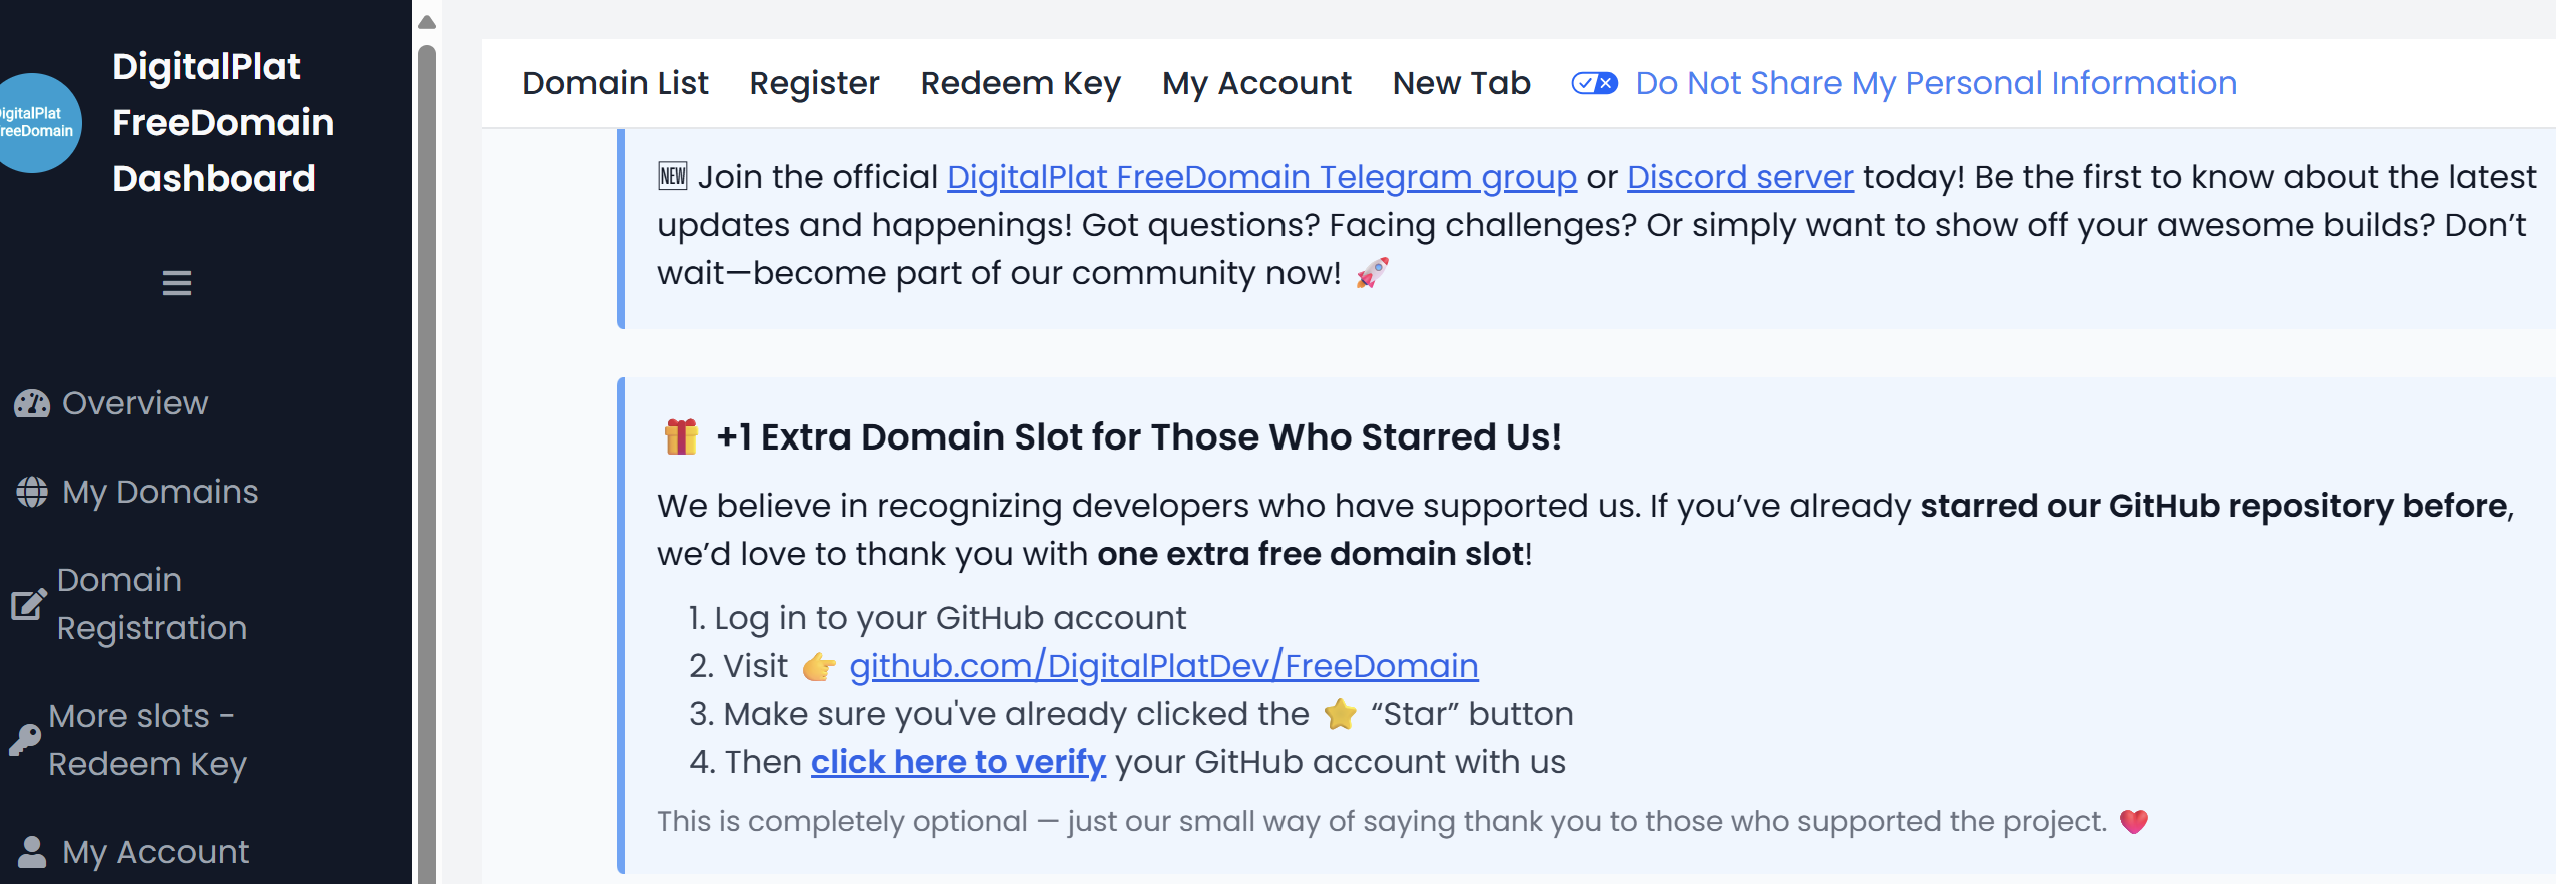
star
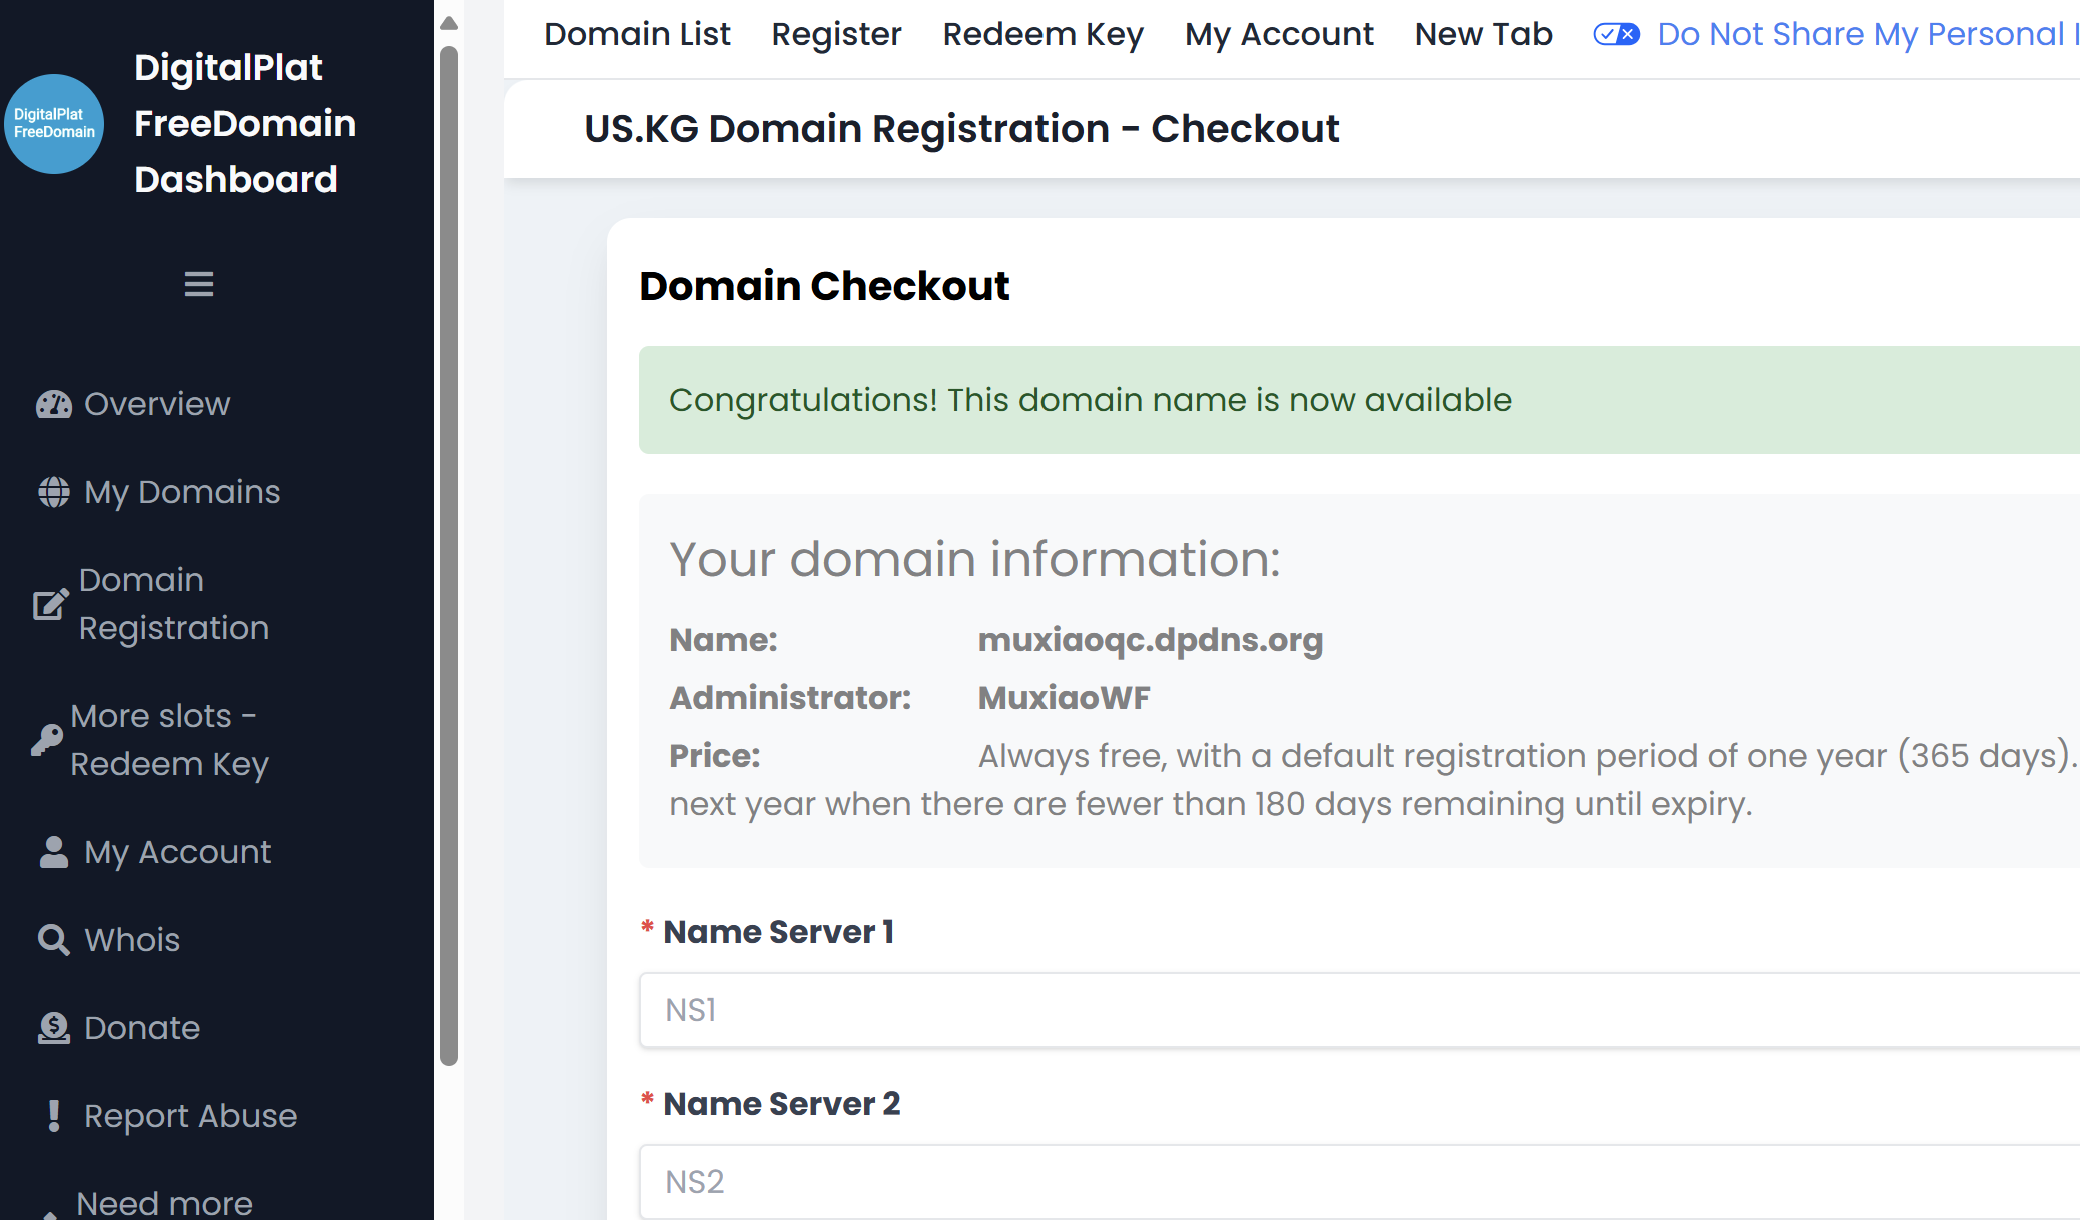
Name Server needs to be filled in
Return to Vercel to Set Your Own Domain
Before configuring Cloudflare, first add your own domain in Vercel’s Domains, and note down the conditions that binding requires (which you’ll fill back into the Cloudflare you just configured).
Cloudflare Configuration
In Cloudflare↗, create a new zone (the free plan is fine), fill in the conditions Vercel just gave you below, and remember to go back to Vercel to refresh and verify.
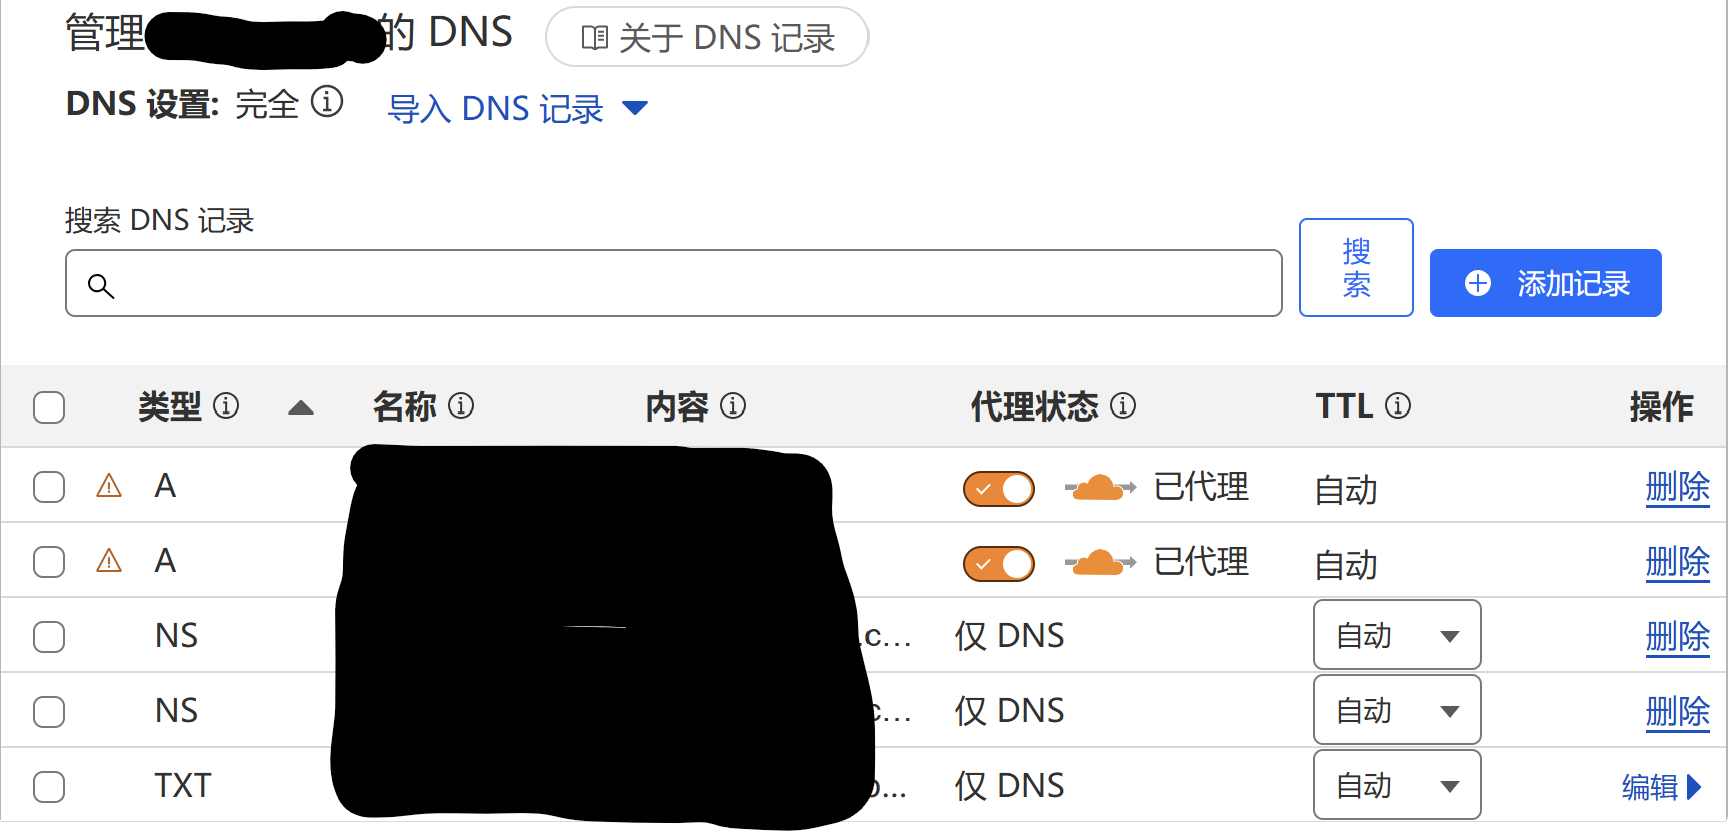
Fill in Vercel conditions
Then fill what’s given back into us.kg’s
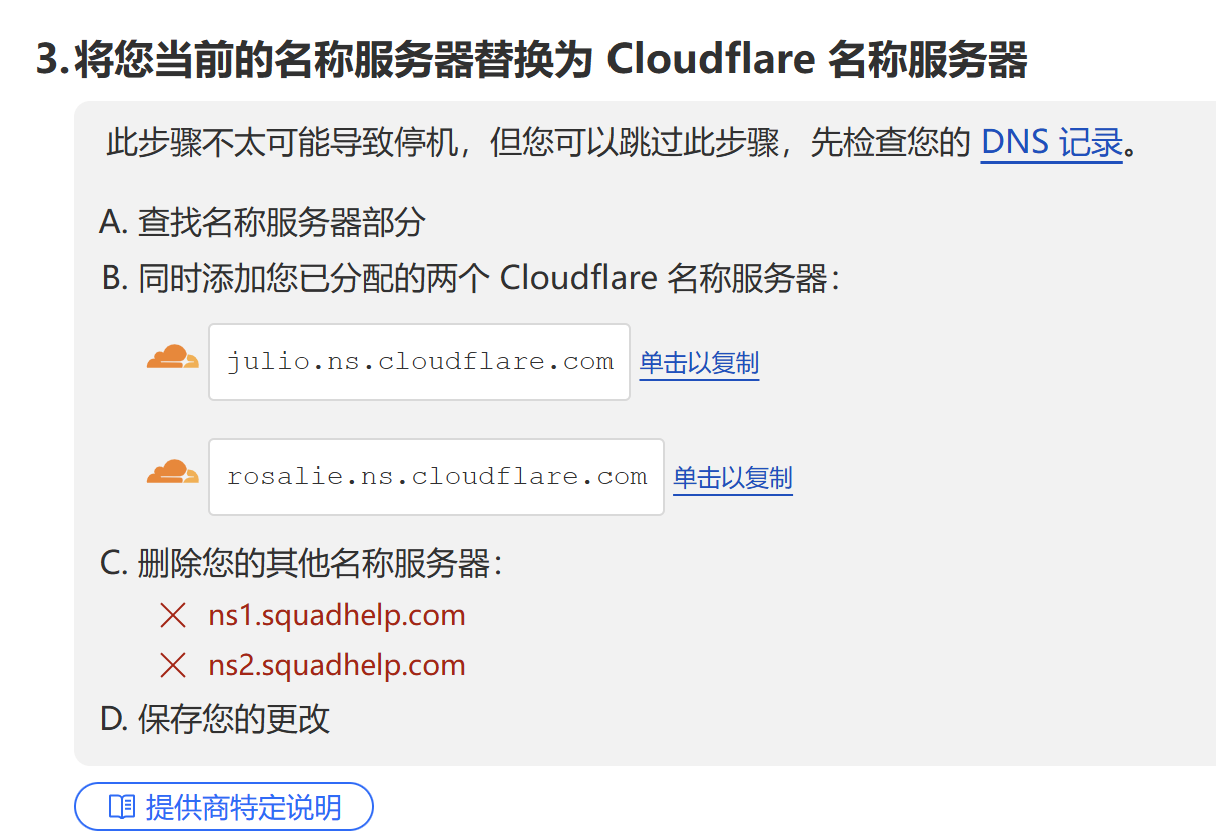
Fill these two back into us.kg's Name Server
Refresh and check in Cloudflare; wait a few minutes until Cloudflare successfully recognizes it.

Successfully recognized Server
Conclusion
Congratulations🎉🍾! At this point you’ve completed the same blog setup as mine
Of course, you can also use AI to help you add more interesting features; my blog has added/modified some parts, and you can add yours too!